Understanding Betacam Formats
Betacam is one of the most celebrated video cassette formats that has shaped the television and motion picture industry since its introduction in the 1980s. Originally developed by Sony, Betacam cassette tapes were primarily used by television broadcasters and video professionals due to their superior video quality and reliability. Today, many of these tapes still hold invaluable footage that individuals and organizations seek to preserve and digitize. Converting Betacam to Digital is an essential step for ensuring that this content remains accessible and usable in today’s digital landscape.
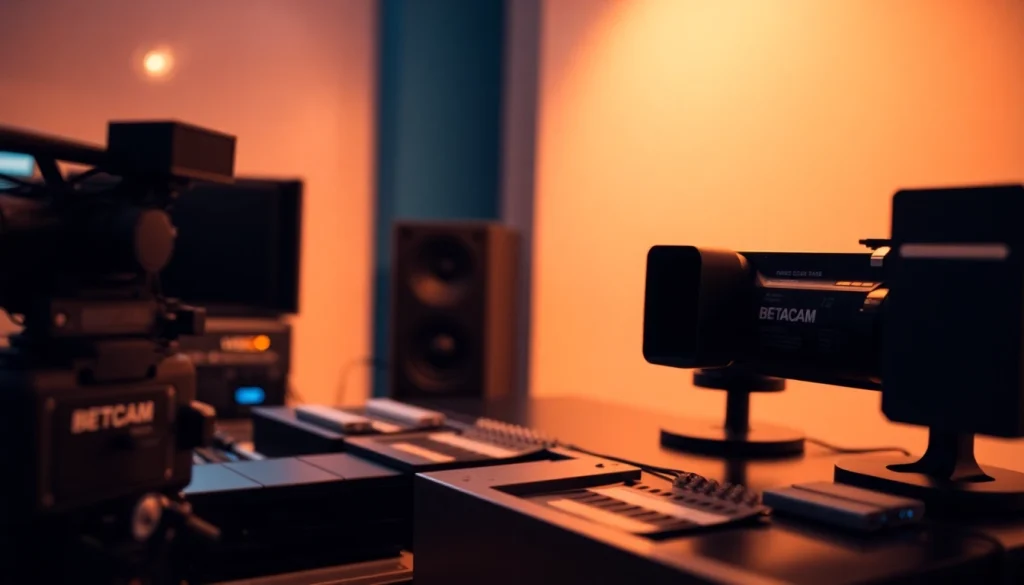
1. What is Betacam?
Betacam refers to a family of videotape formats that were developed for professional video recording, primarily for television broadcasting. Betacam tape recorders use magnetic tape to capture high-quality images and sounds. The original Betacam format was primarily an analog medium, serving as a popular choice for video professionals due to its exceptional picture quality, dynamic range, and color fidelity.
2. Different Types of Betacam Tapes
The Betacam family includes several different types of formats, each designed for specific applications and catering to various technological advancements:
- Betacam: The original format that set the standard for professional video recording.
- Betacam SP: An enhanced version that offered improved picture quality and used a more reliable tape.
- Betacam SX: Introduced digital encoding, allowing for greater efficiency in storage while maintaining quality.
- Digital Betacam (DigiBeta): Fully digital format providing superior compression quality and better audio capabilities.
3. Why Convert Betacam to Digital?
Conversion from Betacam to digital is crucial for several reasons:
- Longevity: Analog tapes deteriorate over time. By converting to digital, the material becomes more durable and less susceptible to physical damage.
- Accessibility: Digital formats are universally compatible, allowing for easier editing, sharing, and use across various platforms and devices.
- Preservation of Quality: High-quality digital formats can be created that preserve the original content while eliminating issues related to tape degradation.
The Process of Betacam to Digital Conversion
1. Equipment Used for Conversion
A successful conversion from Betacam to digital requires specialized equipment. This includes:
- Video Tape Recorders (VTR): High-end decks tailored for the specific Betacam format being converted.
- Video Capture Cards: Hardware that accurately converts analog signals into digital data.
- Editing Software: Programs to help refine and edit the digitized content, ensuring high quality.
2. Steps Involved in the Conversion
The process of converting Betacam to digital typically follows these steps:
- Preparing the Tapes: Collect and inspect each Betacam tape for damage or degradation.
- Setting Up Equipment: Connect the VTR to the video capture card and configure the subsequent software to recognize the input.
- Capturing Video: Play the tape while the software records the incoming analog signal, converting it into digital data.
- Editing and Exporting: Review the captured footage, edit as necessary, and export to the desired digital format (e.g., MP4, MOV).
3. Common Challenges in Conversion
While digitizing Betacam tapes can be straightforward, several challenges may arise:
- Tape Degeneration: Over time, tapes can wear out, causing image streaking, color loss, or complete failure.
- Hardware Compatibility: Outdated VTRs may be hard to find or maintain, making access to suitable machines a challenge.
- Audio Sync Issues: Sometimes, the audio and video might not align during capture, requiring further editing to correct.
Selecting a Betacam to Digital Service
1. Key Features to Look For
When choosing a service for converting Betacam tapes to digital, consider the following key features:
- Experience and Expertise: Look for companies with a proven track record in digitizing Betacam tapes.
- Quality of Equipment: Access to high-end VTRs and modern technology is crucial for achieving the best results.
- Customer Support: A responsive customer service team can help address your concerns and questions during the conversion process.
2. Comparing Different Service Providers
It is essential to compare different service providers based on services offered, pricing, and customer reviews. Look for testimonials from previous clients to gauge their experiences, and inquire about the types of Betacam formats they work with.
3. Cost Considerations for Conversion Services
The cost of converting Betacam tapes to digital can vary widely depending on the service provider, the number of tapes, the specific format, and additional services like editing. On average, expect to invest between $20 to $100 per tape, with bulk discounts often available for larger collections.
Ensuring Quality in Digital Conversion
1. Assessing Video Quality Post-Conversion
Once digitization is complete, assess the quality of the converted video carefully. Key elements to evaluate include:
- Resolution: Ensure the digital video matches or exceeds the resolution of the original recording.
- Color Accuracy: Check for vibrant and accurate colors that reflect the original footage.
- Audio Clarity: Listen for clear, synchronized audio that complements the visual component.
2. File Formats and Compression Options
When exporting the converted video, you may have several options for file formats and compression:
- Lossless Formats: Opt for formats like ProRes or DNxHD if preserving maximum quality is crucial.
- Compressed Formats: For easier sharing and storage, MP4 is widely accepted and can retain substantial quality while being smaller in size.
- Backup Options: Always consider creating multiple copies in different formats for security and accessibility.
3. Preservation Techniques for Digital Files
After successful conversion, preserving your digital files is paramount. Consider these techniques:
- Cloud Storage: Utilize cloud platforms for off-site backups, ensuring the safety of your files in case of hardware failures.
- Regular Checks: Periodically check the integrity of the files, making sure they remain accessible and in good condition.
- Updating Formats: Stay informed about changes in technology and file formats to ensure your files remain compatible with future playback devices.
Future-Proofing Your Digital Media
1. Storing Your Digital Files
Storage solutions play a vital role in future-proofing your digital media library. Utilize a combination of hard drives and cloud storage for redundancy, helping protect against data loss.
2. Updating Formats for Longevity
As technology evolves, some digital formats may become obsolete. Regularly update your files to current formats that support higher resolutions and improved compression methods. This will help maintain the quality and accessibility of your media.
3. Accessing and Sharing Digital Content
Digital content should be easily accessible and shareable. Implement user-friendly methods for sharing files, such as hosting platforms or creating shared drives that allow collaborators to access material with ease. Always respect copyright and licensing agreements when sharing content with others.