Understanding MiniDV Tapes
The History of MiniDV Tapes
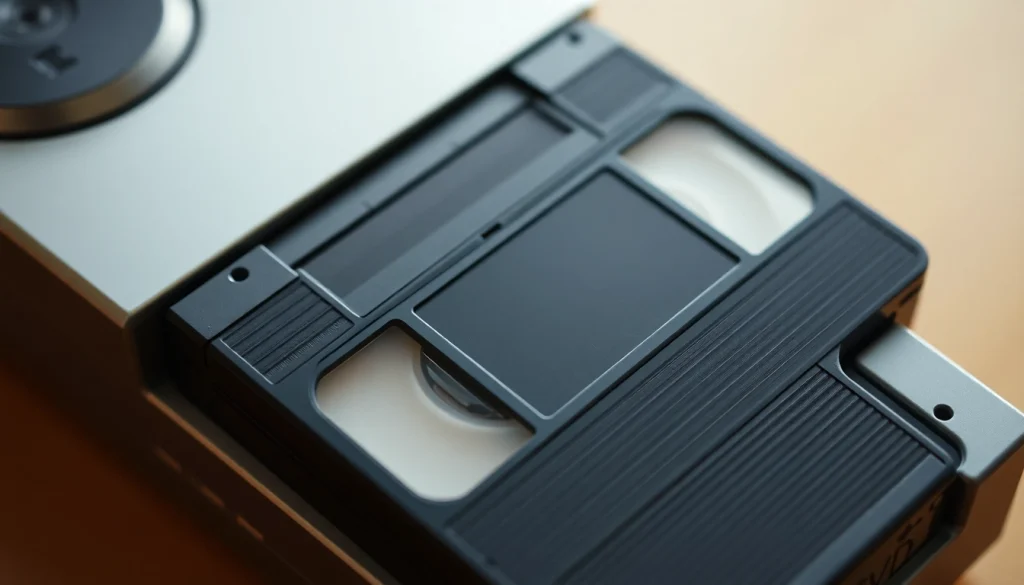
MiniDV tapes were introduced in 1995 as a compact cassette format designed to rival the larger, less portable VHS tapes. Their smaller size, combined with superior video quality and digital recording capabilities, made them highly popular among consumers and professionals alike. MiniDV quickly became the standard for digital video recording, offering a maximum resolution of 720×480 pixels. The format was crucial for the early adoption of digital video technologies, especially in home video production and amateur filmmaking.
Throughout the late 90s and early 2000s, MiniDV camcorders became a common sight, with many families using them to capture precious memories. However, as technology evolved and high-definition recording became more accessible, the use of MiniDV tapes began to decline, giving way to newer formats. Despite this, many households still possess a treasure trove of MiniDV footage, serving as a reminder of moments long past.
Why Preserve MiniDV Footage?
Preserving MiniDV footage is vital for several reasons, primarily for sentimental value. Many of these tapes contain irreplaceable memories such as family gatherings, weddings, and milestone events. However, the physical media itself is susceptible to degradation over time. Magnetic tape can succumb to moisture, dust, and magnetic fields, leading to the loss of precious content.
Moreover, the playback systems for MiniDV tapes are becoming increasingly rare. As newer technologies replace old formats, access to the equipment needed to view these tapes diminishes. Converting your MiniDV tapes to a digital format ensures not only the longevity of the footage but also provides easier access for viewing and sharing with family and friends. To undertake this conversion process effectively, you can refer to the resources available for Minidv to digital guidance.
Common Challenges in Conversion
When converting MiniDV tapes to digital formats, several challenges can arise. One of the most significant issues is tape degradation, which can lead to pixelation, audio artifacts, or complete loss of video. Adverse environmental conditions, such as humidity and extreme temperatures, can accelerate the deterioration of the tapes.
Another challenge is the need for specialized equipment. Unlike standard videos, MiniDV requires a camcorder or player specifically designed to read the tapes. Additionally, the conversion process often involves software that can capture and encode video into a digital format, which might be unfamiliar territory for many users.
Moreover, ensuring the quality of the final digital output can be a daunting task, demanding meticulous attention to detail during both the hardware setup and the conversion process. Without proper awareness of these challenges, individuals risk losing their cherished footage forever.
Preparing for Digital Conversion
Gathering Necessary Equipment
To convert MiniDV tapes to digital formats, you’ll need specific equipment. First and foremost, a MiniDV camcorder or player capable of reading the tapes is essential. If you don’t possess one, consider borrowing from friends, family, or renting professional equipment suitable for conversion.
In addition to the camcorder, you will require a computer equipped with video capture software, a video capture card or device (if not integrated), and sufficient storage space on your hard drive to accommodate the video files. The storage needs can vary depending on how much footage you have, so it’s wise to check the capacity of your drive before starting the conversion process.
Finally, consider acquiring quality cables to connect your camcorder to your computer. FireWire cables are often the best choice for MiniDV, as they offer the fastest transfer speeds and maintain video quality better than USB alternatives. Additionally, always have backup storage options at hand to prevent loss during the transfer.
Ensuring Tape Condition
Before converting MiniDV tapes, it’s crucial to assess their condition. Tapes that have been improperly stored, exposed to fluctuating temperatures, or have significant wear may require special handling. The first step is to visually inspect each tape for physical damage, such as fraying or mold growth, which can affect playback quality.
If you notice any signs of tape deterioration, it’s advisable to clean them before attempting conversion. Use a microfiber cloth to gently wipe the outer casing and eliminate dust. However, exercise caution; never touch the magnetic tape itself. If you are uncertain about the condition of your tapes, consider consulting a professional service specializing in video restoration and preservation.
Choosing the Right Conversion Method
There are various methods for converting MiniDV tapes to digital formats, and choosing the right one depends on your specific needs, budget, and technical expertise. The two most common approaches are DIY conversion and professional services. DIY conversion involves using your own equipment and following a step-by-step process, allowing you complete control over the quality and the cost.
To conduct a DIY conversion, you’ll need the proper setup, including your camcorder, computer, and the necessary software. On the other hand, a professional service offers expertise, high-quality results, and minimizes the risk of tape damage, albeit at a higher cost. Depending on how much archival footage you possess and your comfort with technology, select the option that best fits your circumstances.
Minidv to Digital: Step-by-Step Guide
Hardware Setup for Conversion
The next critical step is to set up the hardware for the conversion process. Start by connecting your MiniDV camcorder to your computer using the appropriate cable, typically a FireWire connection. Once connected, ensure that your computer recognizes the device, as this will indicate that the setup is correct.
It’s also imperative to check your capture software settings. Depending on the software you’re using, adjust the resolution and video format settings according to your preferences. Typical formats include .AVI or .MP4, with the latter often being the more compatible option for most devices.
Software Options for Editing
After setting up your hardware, the next step is selecting video capture software. Numerous options exist, ranging from free solutions like iMovie for Mac users or Windows Movie Maker, to more advanced programs like Adobe Premiere Pro or Final Cut Pro.
When choosing your software, look for features such as ease of use, compatibility with your capture hardware, and available editing tools. Free software may lack advanced functionalities but can be suitable for basic editing needs. For those familiar with video production and editing, a more robust solution can provide the necessary tools for sophisticated edits.
Performing the Conversion Process
Begin the conversion process by loading a MiniDV tape into your camcorder. Once you set everything up—the device plugged in, the software open, and the settings adjusted—hit the ‘play’ button on your camcorder while simultaneously pressing the ‘record’ button on your software.
It’s essential to monitor the process carefully. Watching for any quality issues during the capture can help you catch problems early, ensuring they can be addressed before the recording ends.
Once conversion is complete, stop the recording on your computer and rewind the tape. Always save your captured footage in a designated folder, keeping organized files for easy future access. For longer recordings, consider taking breaks to prevent any system overload, and remember to save your progress intermittently to avoid data loss.
After Conversion: Editing and Saving
Basic Video Editing Tips
After successfully converting your MiniDV tapes to digital, the next step is editing your videos. Basic editing can be performed with straightforward software, where you can cut unwanted segments, trim the beginnings and endings of videos, and adjust the brightness and contrast to enhance visual quality.
Consider adding transitions between clips and captions to improve storytelling. Also, audio edits can enhance the viewing experience, so adjust the soundtrack’s volume where necessary. Invest time playing around with your chosen software; many programs offer tutorials to help users maximize functionality.
Best Formats for Digital Storage
When it comes to saving digital video files, selecting the right format is crucial for balancing quality and storage space. Common formats to consider include MP4, AVI, and MOV. MP4 is widely regarded as the best choice due to its compatibility with most devices while also offering excellent compression for high-quality video.
For archiving purposes, saving a high-quality version in an uncompressed format like AVI or MOV may be worthwhile since this ensures no data loss. Based on your intended use—whether for casual viewing, editing, or sharing—evaluate the best format that suits your storage capacity and playback needs.
Backup Solutions and Strategies
Once you have successfully converted and edited the MiniDV footage, it is vital to implement a strong backup strategy. Storing your files in multiple locations can safeguard against data loss. Use a combination of external hard drives and cloud storage to ensure redundancy. Cloud solutions like Google Drive, Dropbox, or dedicated backup services provide excellent options for reliable access and storage.
Regularly update your backups, particularly as you add new content or edit existing files. Investing in a RAID system for local storage can provide added protection by duplicating your data across several drives. Such measures ensure that your memories are preserved against physical damage or technical failures.
Minidv to Digital: Final Thoughts
Maintaining Video Quality
Throughout the conversion process, maintaining the highest quality of your footage is paramount. Selecting high-quality equipment and software, ensuring proper handling of tapes, and carefully monitoring the conversion will reflect in the final outcome. It’s also a good idea to familiarize yourself with the settings of your capture software, adjusting them to prioritize video quality over file size where necessary.
Future-Proofing Your Digital Collection
As new technologies emerge, the means of storing and viewing digital files continue to evolve. To future-proof your collection, consider periodically transferring video files to newer storage solutions and formats as they become available. Keep abreast of advancements in video technology, as staying informed will allow you to transition your footage seamlessly when necessary, preventing your valuable archive from becoming obsolete.
Engaging with Your Archived Footage
Finally, the true value of preserving your MiniDV tapes lies in how you engage with the footage. Whether through a family movie night featuring nostalgic clips or sharing highlights with relatives online, the memories captured can continue to be part of your life, even in their digital form. Set time aside to revisit old memories regularly; it not only strengthens family bonds but also ensures that the stories behind the videos are passed down through generations.