Understanding Tambour Panels
What Are Tambour Panels?
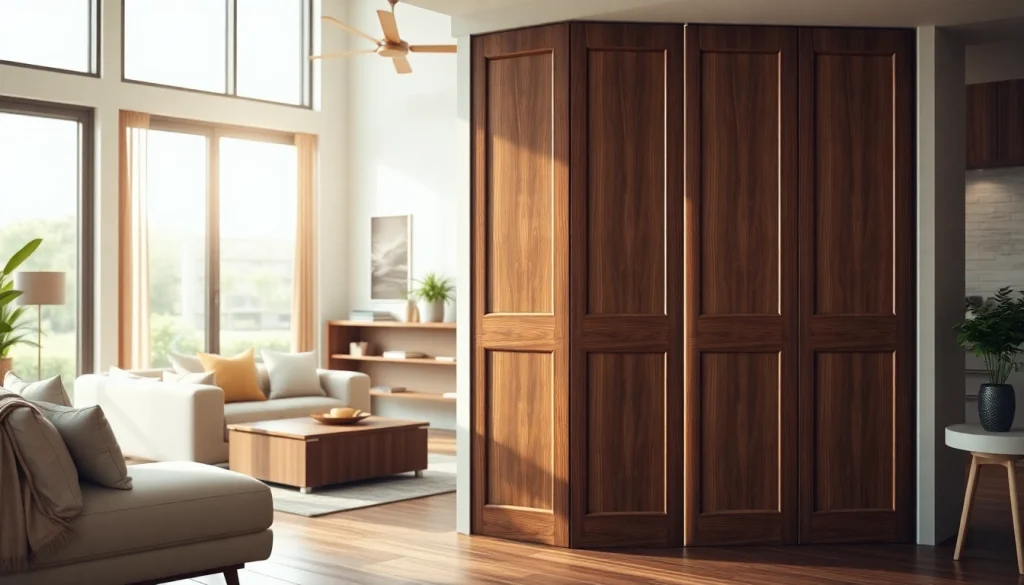
Tambour panels are versatile, thin strips of wood that are intricately crafted and often used for various design applications, including cabinetry, furniture, and wall coverings. The name “tambour” is derived from the French term for “drum,” reflecting the panel’s ability to bend and curve similarly to a drum’s surface. These panels can be made from different types of wood, allowing for a range of finishes and aesthetic appeals. Their unique construction method involves a series of narrow wooden slats joined together, providing both flexibility and strength, which makes them suited for various structural and decorative needs. You can find a wide selection of tambour panels that cater to diverse interior design preferences.
Benefits of Using Tambour Panels
Tambour panels offer numerous advantages, making them an ideal choice for both residential and commercial applications. Here are some of the key benefits:
- Versatility: They can be used in various settings, including kitchens, living rooms, and offices, adding elegance and functionality.
- Space-Saving: Because they can be curved and bent, tambour panels are an excellent solution for tight spaces where conventional cabinetry may not fit.
- Lightweight: Their thin design makes them easy to handle and install without compromising structural integrity.
- Aesthetic Appeal: Tambour panels can add texture and visual interest to a space, enhancing the overall décor.
- Customizable: They come in various wood types, colors, and finishes, allowing for tailored solutions to match any design scheme.
Common Uses for Tambour Panels
Tambour panels are employed in a multitude of ways, showcasing their design flexibility. Here are some of the most common applications:
- Cabinetry: Used to construct sliding doors or decorative fronts, tambour panels seamlessly blend into kitchen and bathroom cabinets.
- Furniture Design: Tambour panels can be incorporated into tables, desks, and storage units for an elegant touch.
- Wall Coverings: These panels serve as stylish wall features, acting as accent pieces in living rooms or offices.
- Partitions: They can be utilized in commercial environments to create visually appealing yet functional room dividers.
Design Ideas for Tambour Panels
Incorporating Tambour Panels in Different Rooms
Tambour panels can enhance various rooms in a home or office, each offering a unique style and purpose. Here’s how to incorporate them effectively:
- Kitchen: Use tambour panels in cabinetry or as sliding pantry doors. The natural wood can evoke a warm, inviting atmosphere, while the functionality remains intact.
- Living Room: Introduce tambour panels in media centers or as decorative wall features. Consider combining them with soft lighting for a sophisticated vibe.
- Home Office: Utilize tambour panels to create stylish storage solutions in desks or as hidden shelving. This not only keeps the space organized but also maintains a clean aesthetic.
- Bathroom: Incorporate tambour panels in cabinetry for a sleek, modern look. They couple well with glass and metal finishes, enhancing the overall design.
Color and Texture Combinations
When it comes to color and texture, tambour panels offer endless possibilities. Combining different finishes can create stunning visual contrasts. Here are some ideas:
- Natural Wood Finish: A natural wood finish highlighted with a clear coat can bring warmth and texture to a minimalist setting.
- Stained or Painted Panels: Staining or painting tambour panels in bold or muted colors can provide a focal point in a room.
- Mixing Materials: Pairing tambour panels with glass, metal, or stone enhances textural contrast and visual depth.
Creative Ways to Display Tambour Panels
Here are some innovative ways to display tambour panels in your design scheme:
- Artistic Wall Installations: Create a feature wall using tambour panels in various heights and colors to produce a 3D design.
- Sculptural Furniture: Design custom furniture pieces that feature tambour panels, allowing them to function as both structural and artistic elements.
- Accent Lighting: Incorporate backlighting behind tambour panels to add depth and ambiance to your room’s decor.
Installation Process for Tambour Panels
Tools and Materials Needed
To install tambour panels efficiently, you’ll need a range of tools and materials. Here’s what to prepare:
- Tools: A saw, level, hammer, measuring tape, drill, and screwdriver will be essential for accurate cutting and installation.
- Materials: Apart from the tambour panels, you’ll need screws, wood adhesive, finishing nails, and possibly a backing material depending on the application.
Step-by-Step Installation Guide
Follow these steps to install tambour panels effectively:
- Measure and Cut: Start by measuring the area where you will install the tambour panels. Cut the panels to size using a saw, ensuring to make straight cuts.
- Prepare the Surface: Ensure the installation surface is clean and smooth. If necessary, add a backing or framework that provides stability.
- Attach the Panels: Begin at one end and attach the panels using wood adhesive and finishing nails. Make sure to keep the panels aligned and level.
- Finish Edges: After installation, trim any excess material and add finishing touches like edge strips or moldings for a polished look.
- Final Inspection: Once installed, check the tambour panels for smooth movement and overall appearance. Make adjustments if necessary.
Common Mistakes to Avoid
While installing tambour panels can be a straightforward process, there are some common pitfalls to avoid:
- Incorrect Measurements: Always double-check measurements before cutting to avoid wasted materials.
- Poor Surface Preparation: Skipping surface preparation can lead to alignment issues and affect functionality. Ensure a clean, smooth base for installation.
- Ignoring Expansion Gaps: Wood expands and contracts; allow for gaps to avoid warping or damage over time.
Maintenance Tips for Tambour Panels
Cleaning and Caring for Your Panels
Regular maintenance of tambour panels is essential to preserve their appearance and durability. Here are some cleaning tips:
- Regular Dusting: Use a soft, dry cloth to dust the panels regularly, preventing dust buildup.
- Gentle Cleaning Solutions: For deeper cleaning, use a mixture of mild soap and water. Avoid abrasive cleaners that can damage the finish.
- Periodic Inspections: Regularly inspect the panels for any signs of wear, warping, or damage. Address these issues immediately to prevent further deterioration.
Longevity and Wear Considerations
To maximize the longevity of your tambour panels, keep these factors in mind:
- Environment: Consider humidity and temperature changes in your space; these can affect wood quality and durability.
- Usage: In high-traffic or high-use areas, opt for finishes that provide additional protection against wear and tear.
- Routine Maintenance: Establish a routine maintenance schedule to keep panels looking their best and functioning properly.
When to Replace Your Tambour Panels
Knowing when it’s time to replace your tambour panels is critical for maintaining the aesthetic and functionality of your design. Here are some signs to watch for:
- Visible Damage: Cracks, chips, or significant warping indicate that it may be time for a replacement.
- Functional Issues: If the panels become difficult to slide or open, they may need to be repaired or replaced.
- Outdated Style: Aesthetic changes in your space may call for new panels to keep your design cohesive and current.
Making the Right Choice: Selecting Tambour Panels
Factors to Consider Before Buying
When selecting tambour panels, consider the following factors to ensure they meet your design and functional needs:
- Material: Choose a wood type that aligns with your desired aesthetics and durability requirements.
- Thickness: The thickness affects the panel’s flexibility and strength; consider the intended use when selecting dimensions.
- Color and Finish: Select options that complement your existing décor and reflect your style preferences.
Comparing Different Styles of Tambour Panels
Tambour panels come in various styles, and comparing them can aid in making a selection:
- Traditional vs. Modern: Traditional panels may feature more intricate designs and finishes, while modern options are typically sleeker and simpler.
- Finished vs. Unfinished: Finished panels offer immediate usability, while unfinished options allow for customization through painting or staining.
- Sized Panels: Different sizes of tambour panels can be compared based on the scale of your project, ensuring a proper fit for your space.
Cost Considerations and Budgeting
Budgeting for tambour panels requires understanding the costs involved. Here are some factors that will influence your expenses:
- Material Costs: Different wood types vary significantly in price, affecting the overall budget.
- Installation Costs: Consider whether you will undertake the installation yourself or hire a professional, as this can greatly impact total costs.
- Finishing Touches: If you plan to customize or finish your panels, factor in the cost of additional materials and labor.